Seven Painting Techniques That Pros Frequently Use
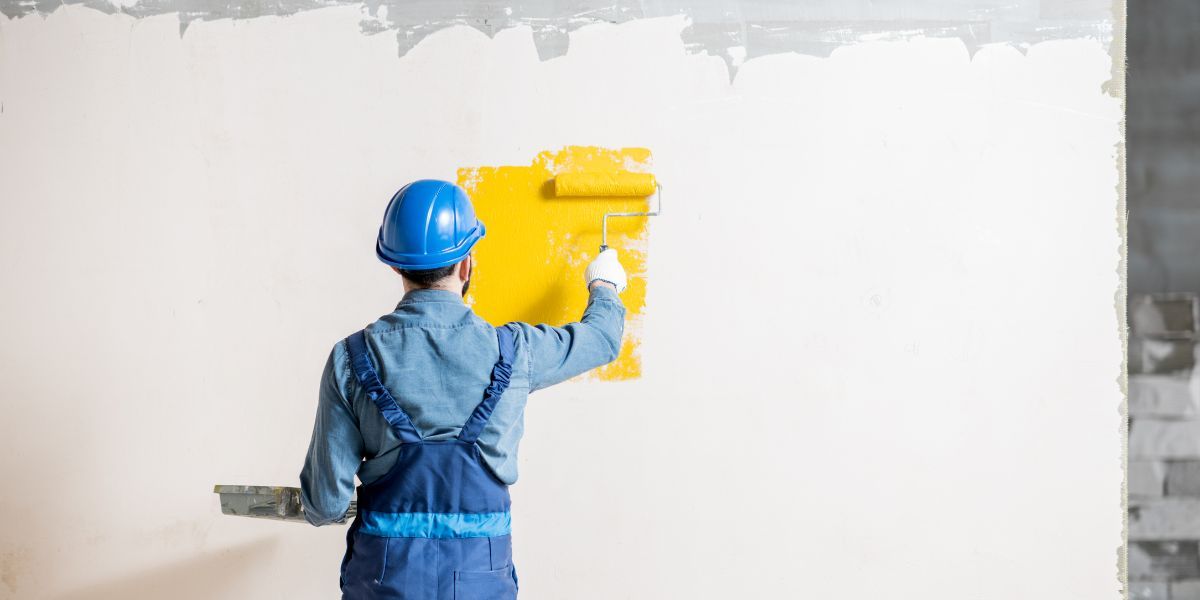
Painting the interior of your home seems like an easy DIY project that requires little painting skill. However, if you use the wrong methods or equipment, your walls may look patched, faded, or banded. Avoid problems in your wall paintings with these six painting techniques from Tucson’s top-rated painters.
One: Start with Clean Walls
Painting on dirty or greasy walls can cause your paint application to fail, while neglecting to remove light switch and outlet plates may result in accidentally painting over them. Make sure you have clean, unadorned walls before you begin painting.
Two: Use the Best Supplies
When it comes to painting supplies, you get what you pay for. Buying cheap brushes may deposit flyaway bristles in your paint—but purchasing the best brushes the first time gives you a clean, beautiful paint job. If you invest in quality oil paints, you’ll enjoy an easier application process and strong, vivid colors for a longer time.
Three: Paint with Tinted Primer
Readying a room for painting often involves spackling over old holes or cracks. When painting over those patches with plain white primer, the glossiness disappears into the spackle and leaves “flashing” or dull patches in your paint job. Tinting your primer with a tiny bit of color can help you cover these seamlessly, especially if you wish to paint your room in bright colors.
Four: Use a Paint Extender to Prevent Lap Marks
One of the lesser-known painting techniques, professionals use paint extenders to increase paint drying times and level paint out, avoiding lap marks between dry and wet layers of paint. The paint extender allows you plenty of time to work on your project without rushing, proving helpful when painting large walls or tight areas around windows and doors.
Five: Put All Your Paint in One Place
Having all of your paint in a single container offers you the greatest chance of consistency across your entire painting project. Many DIYers purchase paint by the gallon, which may cause slight color differences between each bucket. Instead, ask the salesperson to help you estimate how much paint you need and combine it all in one bucket.
Six: Paint from the Top Down
The way that you paint affects how professional your paint project looks. Starting with a stiff bristle brush, paint the edges of your walls from the edge inward. Next, use a roller brush and paint downwards from your ceiling, eliminating the potential for drip and splatter marks.
Seven: Complete One Wall at a Time
Many DIYers want to go from wall to wall, boxing them in on all sides with their wet brush before devoting themselves to rolling. However, this may cause the edges of your walls to dry while waiting for the roller brush, leaving noticeable ridges and lap marks in your paint. Finish one wall at a time for a beautiful, effective paint job.
Paint Like a Pro with These Seven Painting Techniques
These painting techniques come to you from the Tucson, AZ, professionals at Nelson Greer Painting Contractors. Call (520) 325-5800 for professional home interior painting, or learn about skim coating practices.
Categories
- Church Painting (1)
- Commercial Painting (19)
- Exterior Painting (9)
- Interior Painting (3)
- FAQ (1)
- Floor Coating & Sealing (6)
- General (13)
- Industrial Painting (1)
- Metal Painting (1)
- Paint Prep (3)
- Painting Contractors (4)
- Pool Deck Epoxy (1)
- Residential Painting (32)
- Baseboards & Trim (2)
- Cost (3)
- Exterior Painting (8)
- Interior Painting (7)
- Tips (2)
- Walls (6)
- Roof Replacement (1)